Accessories can completely transform an outfit, giving it a touch of elegance and unique style.
Among these accessories, the detachable collar is an essential for "pimping" your wardrobe; on a simple white shirt, it brightens up your outfit and adds a touch of creativity.
In this article, you'll find a step-by-step guide to creating a detachable collar using just fabric glue (and yes, no sewing machine required). It's a simple method that requires no sewing skills, but offers a truly stunning result.
Materials needed:
Before you begin, make sure you have these supplies on hand:
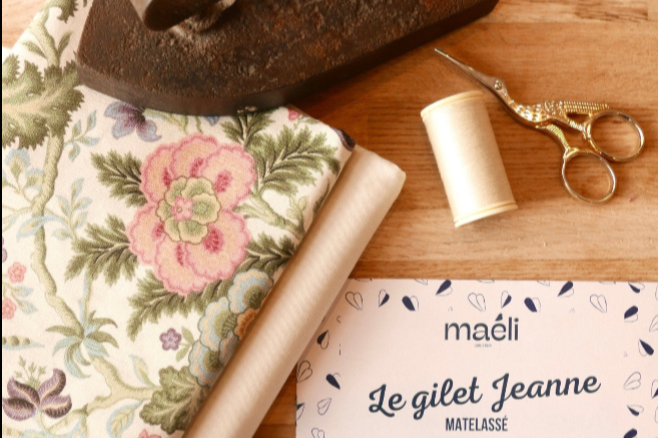
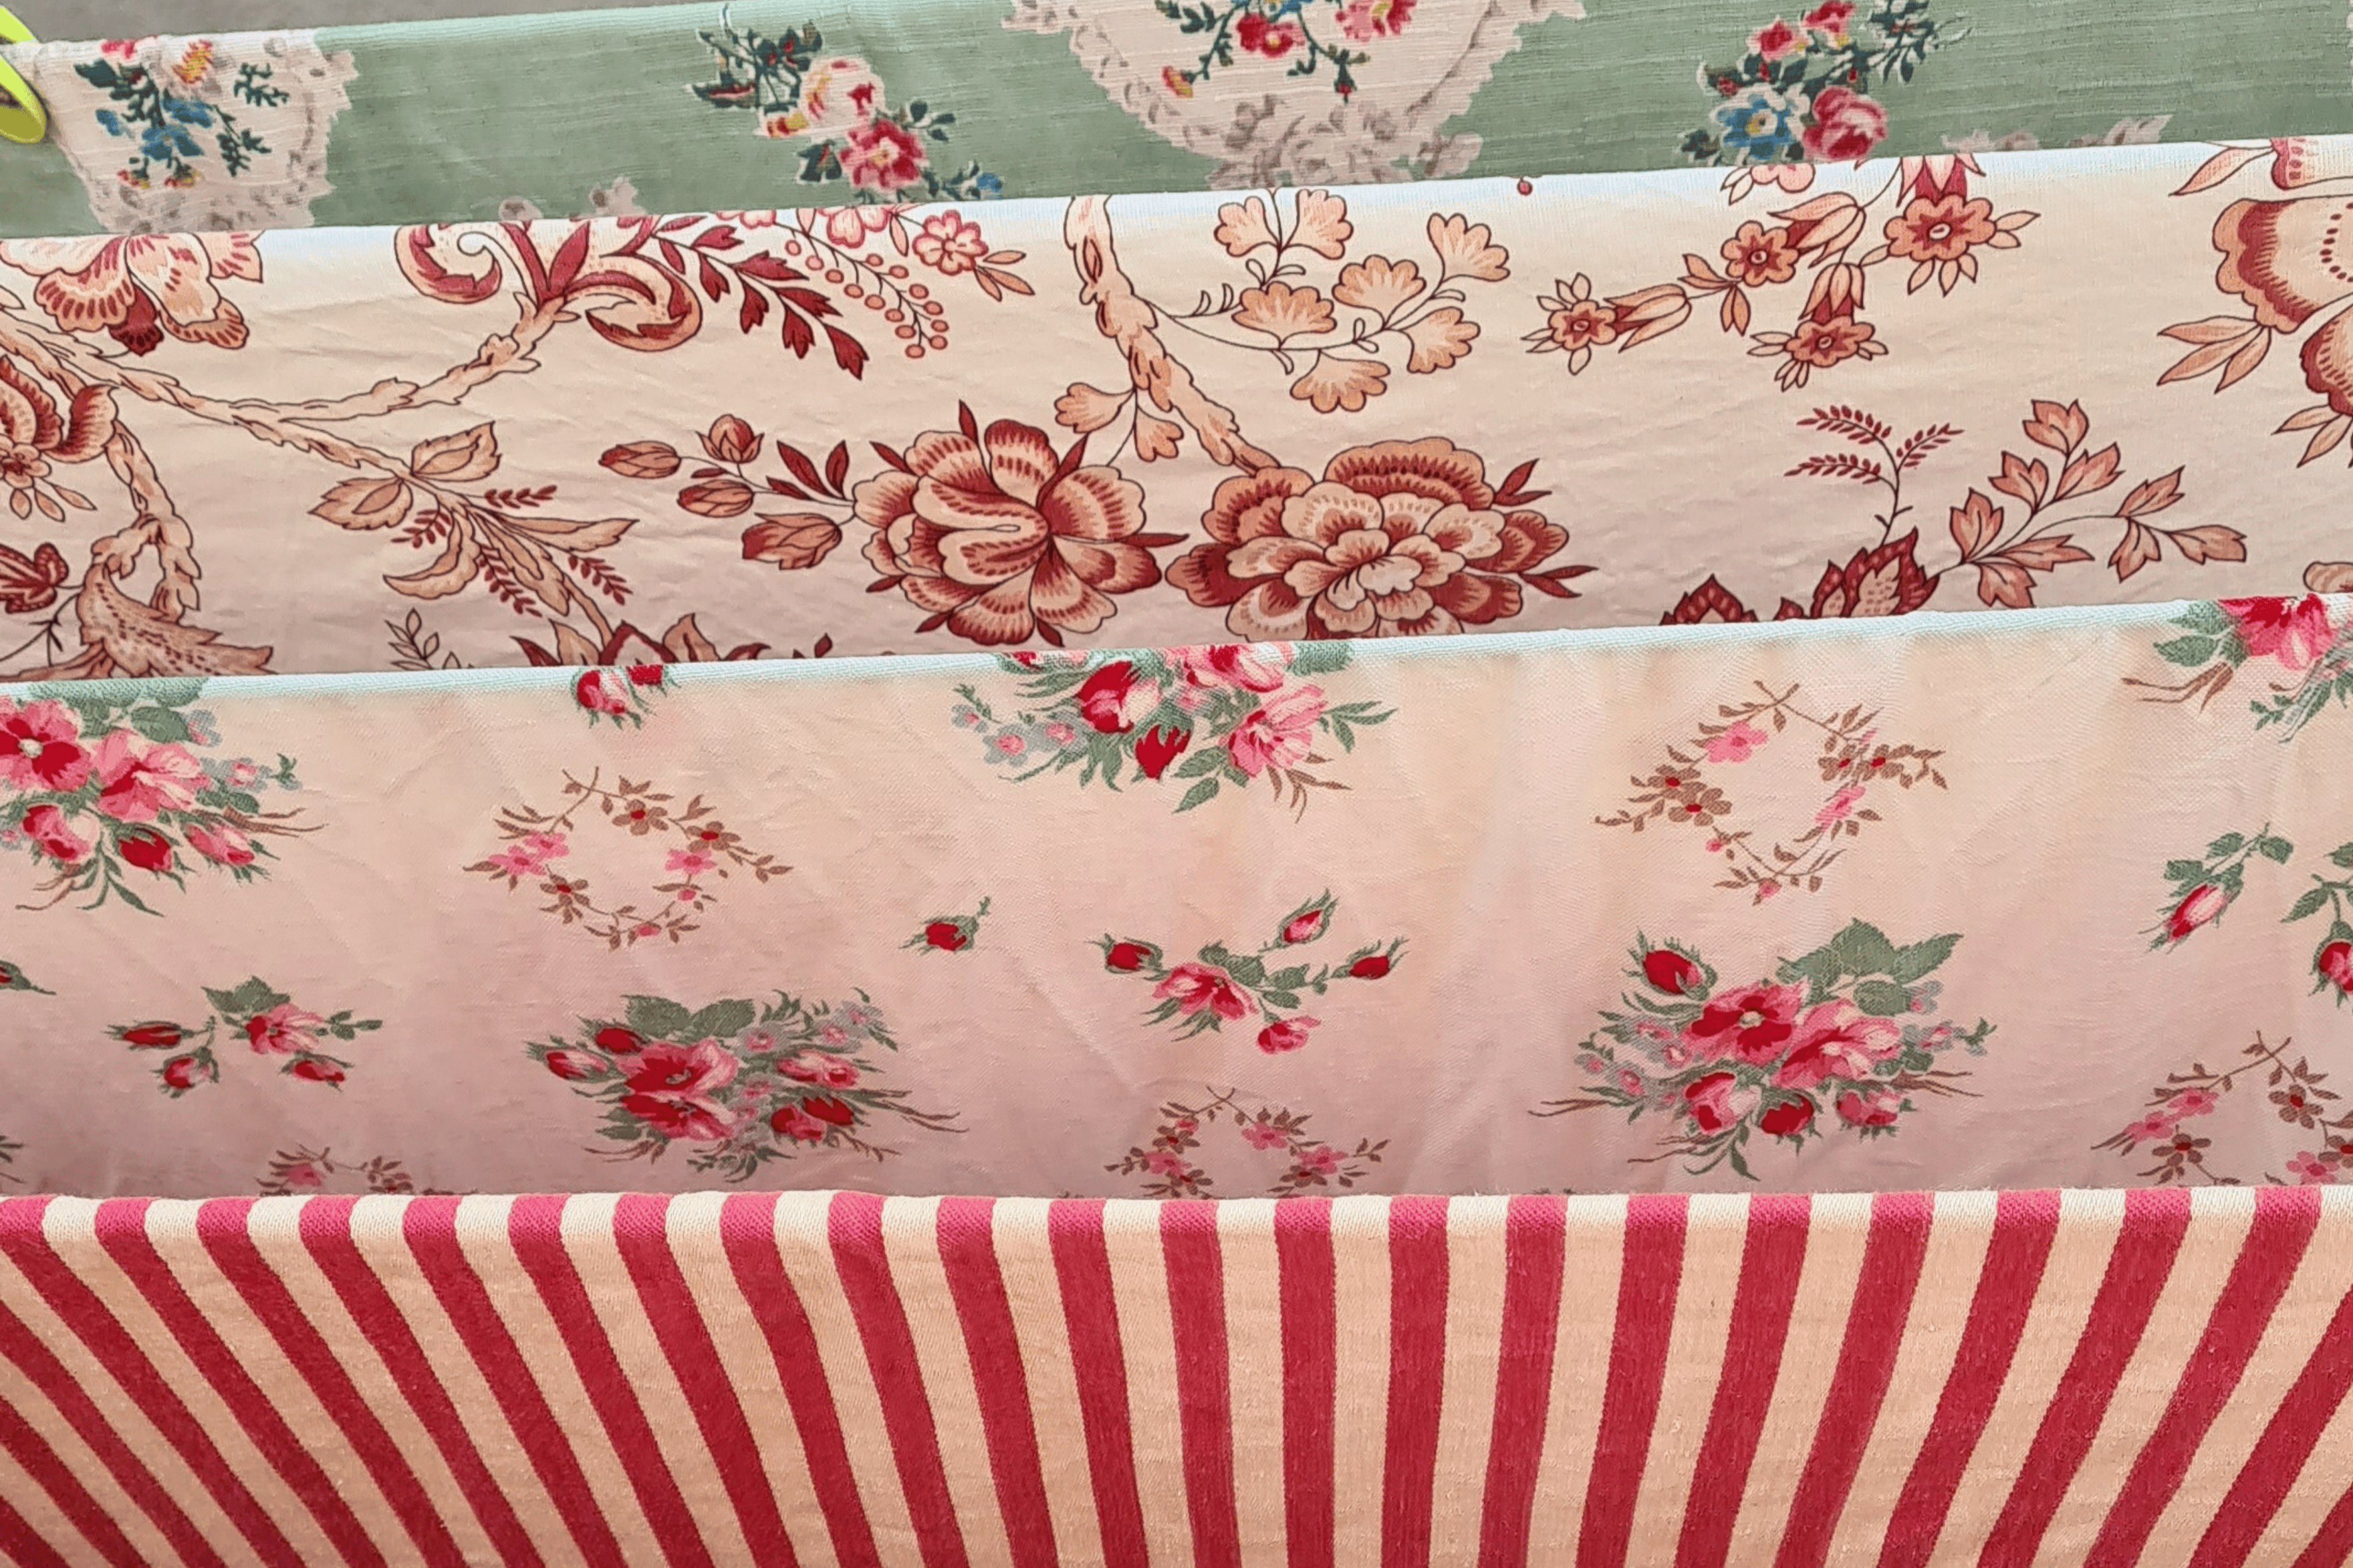
- Fabric of your choice for the collar (embroidered tablecloth, placemats, fabric scraps)
- The pattern ( download it for free here )
- Scissors
- High-quality textile glue ( like this one )
- Fine brush
- Tracing paper
- FriXion pencil
Steps to make your detachable collar:
Step 1: Preparing the pattern
-
Cut out the pattern : Carefully cut out the outline of the pattern you printed.
- Trace the outline of the detachable collar onto tracing paper : Place the detachable collar pattern onto the tracing paper. This will allow you to position your pattern correctly on your upcycled embroidery.
Step 2: Cutting the fabric
-
Place the pattern on the fabric : Pin the pattern to your chosen fabric. Make sure the fabric is taut and the pattern is correctly positioned.
-
Cut the fabric : Use sharp scissors to cut the fabric following the pattern outline. Be precise and make sure to cut the edges cleanly.
Step 3: Press the seam allowances under
- Turn in the seam allowances: Using an iron, fold your fabric over 1cm all around the collar.
-
Apply the fabric glue to the stiff collar : Using a fine brush, apply a thin layer of fabric glue to the surface of the stiff collar. Be careful not to use too much, but make sure the entire surface is covered.
- Create the ties: Create ties to close the collar and place them between two seam allowances.
- Carefully place the fabric on the collar : Carefully align the seam allowances of the two cut pieces of fabric (wrong sides together). Press lightly to adhere the fabric to the glue. Let it dry for a few minutes.
Step 4: Finishing Touches
-
Allow to dry completely : Let the detachable collar dry completely according to the instructions of the textile adhesive manufacturer. This will ensure a strong bond.
Step 5: Customization (optional)
If you wish, you can add embellishments such as beads or embroidery to give a personal touch to your detachable collar.
There you go, you've just created a stunning detachable collar that will add a touch of elegance to your outfits. Wear it with a shirt, a dress, or even a sweater for a unique and stylish look. Have fun and let your creativity flow!
