


Knowing how to read a sewing pattern isn't always easy, especially for beginners. Yet, it's a key step to successfully completing a project: correctly interpreting the symbols, understanding the markings, and knowing how to position the pattern pieces on the fabric are essential components for getting started in sewing.
In this article, we guide you step by step to decipher a sewing pattern like a pro!
What does a sewing pattern look like?
At Maéli Paris , all our patterns are available in two formats:
-
THE pocket pattern, directly printed onto paper rolls, ready to use.
-
The PDF pattern , which you can print at home in A4 , or at a printer in A0 .
If you opt for the PDF version , we explain how it works here .
📌 Good to know : For the A4 PDF versions, we indicate precisely the order of assembly of the sheets to reconstruct the pattern sheet(s).
In addition to the pattern, you'll also find the assembly guide, which explains all the steps to follow, with diagrams. A video tutorial is also available to help you and can be found on our YouTube channel: Maeli Paris .

Reading and understanding a sewing pattern
-
Choose and read your size

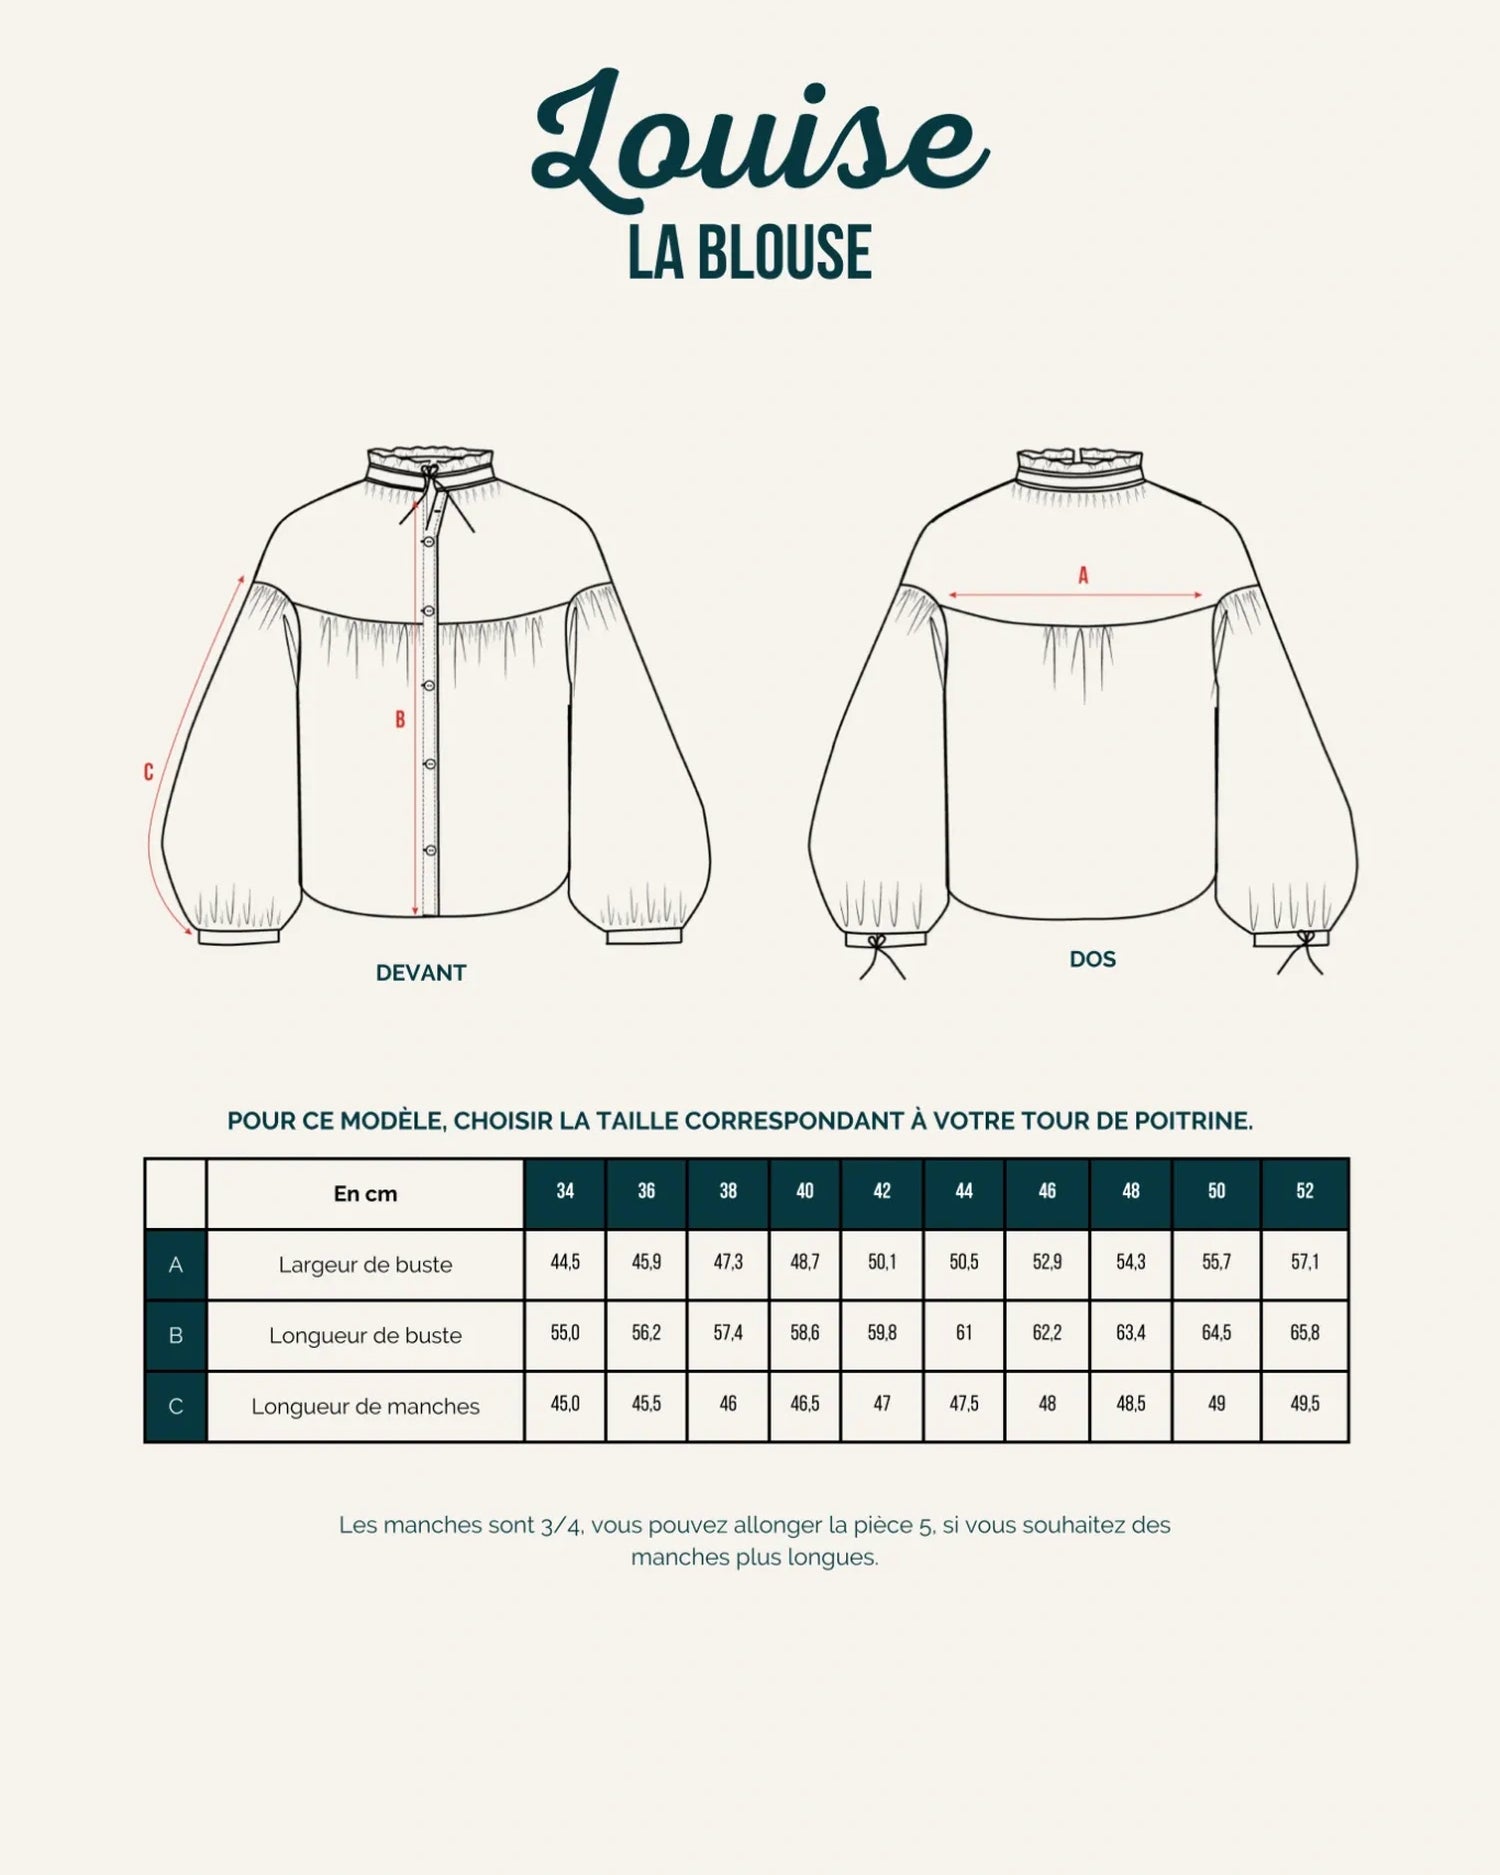
Most sewing patterns offer different sizes. At Maéli, each garment is graded from size 34 to 52 .
On the pattern, each size is represented by a dotted line of a different color.
If you are still unsure which size to choose, please refer to our size guide to take your measurements correctly.
Once you have identified your size, follow the corresponding line to cut out the different pattern pieces. For example, if you choose size 40, you will need to follow this line:

-
Understanding the description of a room
Inside each section of our sewing patterns, you will find essential information that will be useful during assembly.
Here we give you an example from our Louise blouse pattern .
Here's what you can read there:
-
Part number : allows identification of the part during the different stages - part no. 6
-
The name of the part : helps to understand what the part will be used for - Button placket
-
The name of the project manager you are working on - Louise
-
An indication of the number of cuts to make per type of fabric. In this example, the button placket will need to be cut twice in the outer fabric and once in the fusible interfacing – 2x outer fabric & 1x fusible interfacing

-
Key points to know
The markings are essential graphic elements for correctly assembling the pieces. Here are the most common ones you might find on our patterns:
-
The straight grain
Indicated by an arrow, it tells you which way to position your pattern piece on the fabric . Correctly following the grain line ensures a harmonious drape, good garment shape, and prevents your garment from distorting over time.
The straight grain corresponds to the direction of the length , that is to say parallel to the selvedge of the fabric (the finished edge of the fabric).

-
The mounting notches
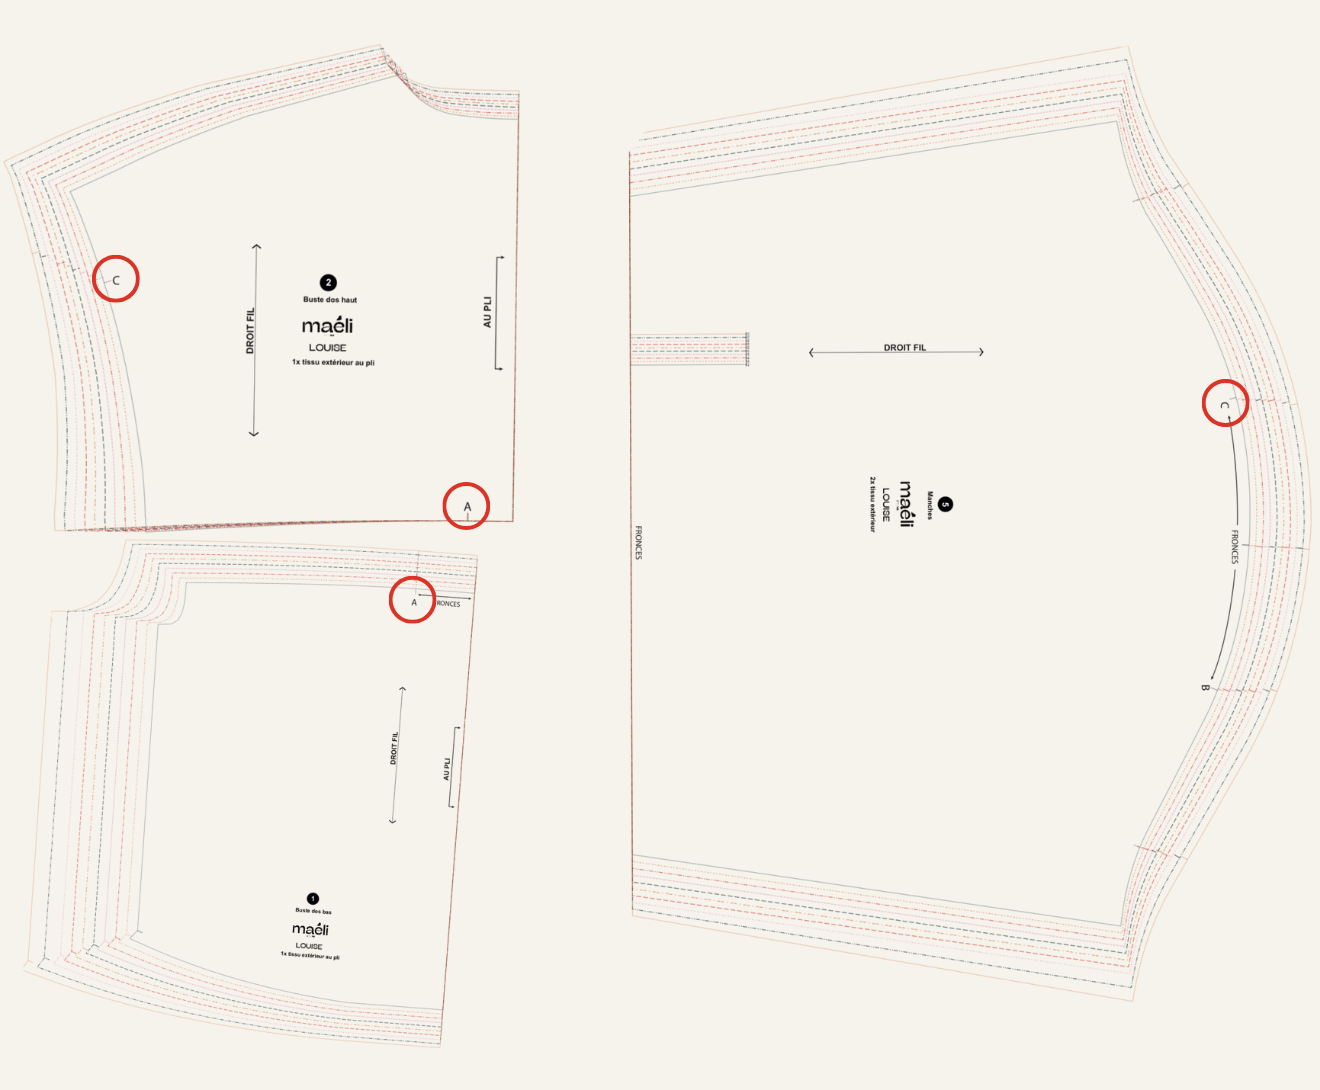
These markings, in the form of small lines or triangles, allow you to perfectly align the pattern pieces. They are often accompanied by letters. Generally, these markings should be transferred to the various pattern pieces when cutting them out. To do this, simply use a erasable pen such as a Frixion, or tailor's chalk.
These notches will be mentioned in the various assembly instructions and you will only have to follow them.
In this example, piece no. 2 - High Back Bust, contains notches A & C.
-
Reference lines
The guide lines are not systematically present on all patterns.
You'll find them when the sewing pattern offers several options: different versions or possible lengths for the same pattern. Others serve as a guide if you want to adjust the garment length, indicating, for example, where to cut to shorten the pattern or lengthen your piece without changing its proportions.
-
"At the fold"
This instruction means that you must place the edge of the yoke along the fold of the fabric. This ensures a symmetrical piece.

-
Seam allowances
At Maéli, seam allowances are included , so you don't need to add them. They are generally 1 cm , but this can vary depending on the project. This is indicated on the pattern and in the guide.
-
Symbols to recognize
You can also find symbols on a pattern. Here's a little more about what they mean:

Button location
Buttonhole opening
Location with pliers
Succeeding with your project
-
Position your pieces correctly on the fabric for cutting.
For a successful haircut, here are the essential steps to follow:
-
Wash your fabric beforehand to prevent it from losing its shape.
-
Fold your fabric according to the instructions on the pattern and guide.
-
Position your pieces respecting the grain line and the various indications (for example when the mention “on the fold” appears).
-
Optimize the layout to avoid fabric waste.
-
Pin or use weights before cutting.
➡️ If you are using patterned fabric, remember to align your pieces carefully so that the seams are harmonious once the garment is assembled!
First, when you lay your pattern pieces flat on the fabric, make sure they are positioned in areas where the patterns will naturally align between the different parts of the garment. Don't hesitate to move your pieces slightly to align the lines or important graphic elements.
Next, be particularly careful when pinning to prevent the fabrics from moving.
-
Understanding the difference between the right and left room
Some pattern pieces need to be cut in double symmetrical fashion: this means you need to get one piece for the right side and one for the left side of the body.
When the pattern indicates "Cut 2 times", it is generally advisable to fold the fabric right sides together before cutting (you can refer to the cutting layout in the assembly guide). This way, you automatically obtain two opposite and perfectly symmetrical pieces.
Sometimes the pieces are marked with different notches, which allows you to easily distinguish the right side from the left side once the pieces have been cut.
Keep in mind that in sewing, a piece of fabric laid flat in front of you doesn't always correspond to the same side of the body once the garment is assembled. For example, a sleeve placed on your right side of the table might actually be intended for the left arm.
To conclude
We hope this article has helped you understand how to read patterns !
Want to embark on a simple project to put your new knowledge into practice?
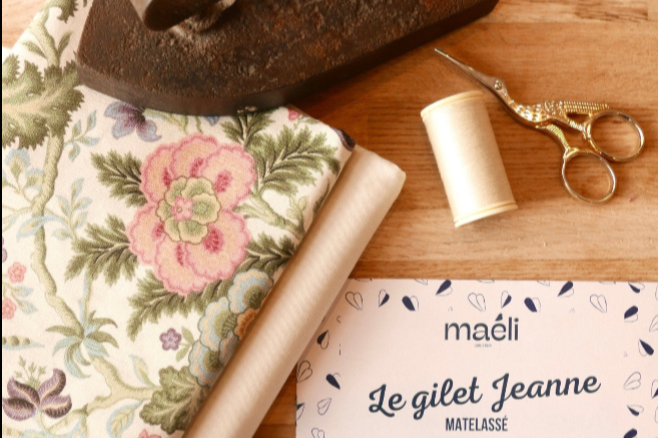
Find our free pattern for the Jeanne sleeveless vest here !
If you are a beginner in sewing and don't dare to embark on big projects, you can also find a selection of patterns in the " beginner " section of our website!